Got a brilliant app idea? Learn the basic steps of mobile app development, from idea validation to launching your first app. This beginner-friendly guide demystifies the process for aspiring app creators in Nigeria.
In today's interconnected world, mobile apps are more than just tools.
They're indispensable parts of our daily lives. From banking to entertainment, communication to e-commerce, apps have revolutionised how we interact with the digital landscape. Perhaps you’ve had that "aha!" moment: a brilliant first app idea that you believe could solve a problem, entertain, or connect people.
But the journey from a spark of an idea to a fully functional app can seem daunting. Where do you even begin? This basic guide to mobile app development is designed to demystify the process, breaking down the essential steps to help you bring your vision to life.
Before you write a single line of code, you need to ensure your app idea has a place in the market.
Define the Problem/Solution: What problem does your app solve? How does it make users' lives easier, more fun, or more efficient? A clear problem-solution fit is crucial.
Target Audience: Who is this app designed for? Understanding your target users will shape every decision you make, from design to features.
Market Research: Are there similar apps out there? What do they do well, and where do they fall short? Identify your unique selling proposition (USP).
Feasibility Check: Is your idea technically possible with your current resources or budget? Be realistic.
With a validated idea, it's time to map out your app's blueprint.
Define Core Features (MVP): What are the essential features for your app to function and solve the core problem? This is your Minimum Viable Product (MVP). Avoid feature creep at this stage.
User Flow: How will users navigate through your app? Map out the path they'll take to complete key actions. This is where you think about the user's journey.
Monetisation Strategy (Optional): How will your app generate revenue? (e.g., in-app purchases, subscriptions, ads, premium features).
Platform Choice: Will your app be for iOS (Apple devices), Android (Google devices), or both? Native development offers the best performance but is platform-specific. Cross-platform frameworks (like Flutter or React Native) allow for a single codebase that supports both, often at a lower cost.
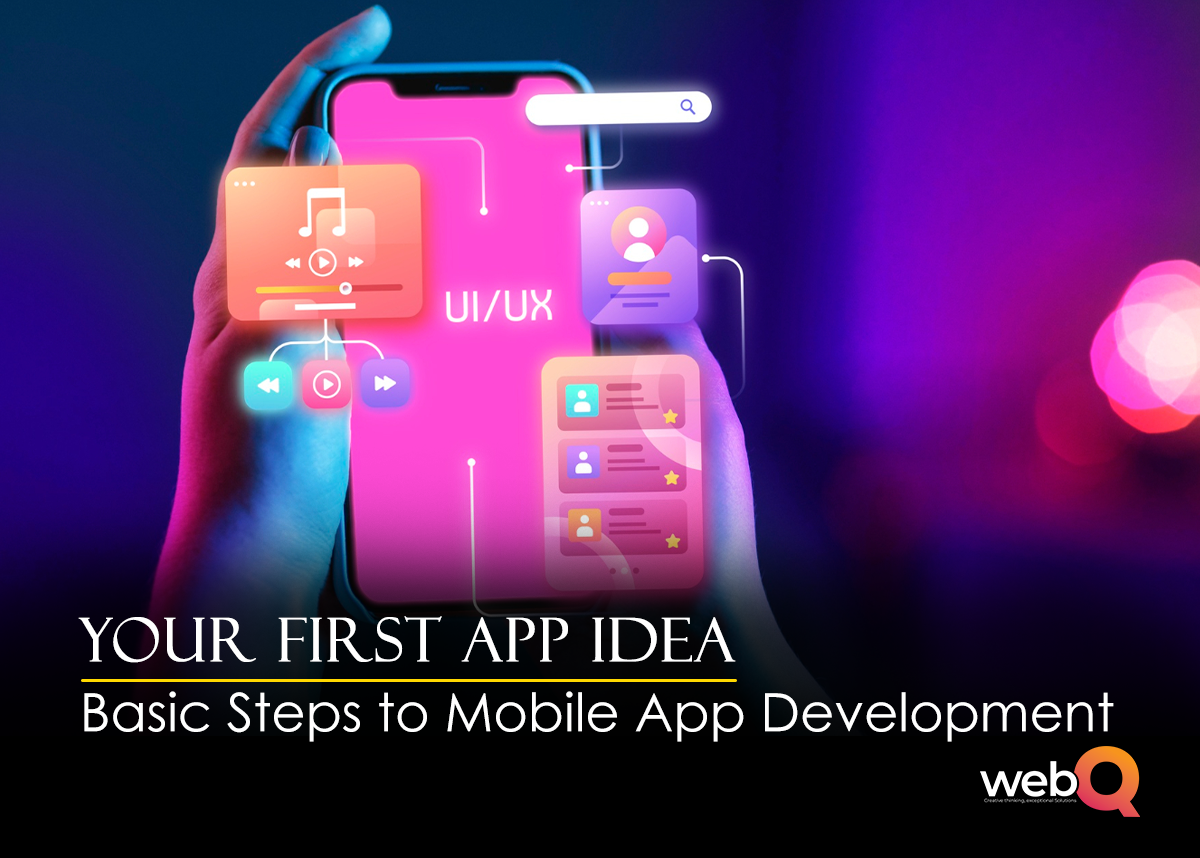
This stage focuses on how your app looks and how users interact with it.
User Interface (UI) Design: This is the visual aspect – colours, typography, buttons, icons, and overall aesthetic. It's about how the app looks.
User Experience (UX) Design: This is about how the app feels and functions – its ease of use, intuitiveness, and overall satisfaction. It's about how the app works.
Wireframes & Mockups: Create basic sketches (wireframes) and then more detailed visual representations (mockups) of your app's screens and their interactions.
Prototyping: Build interactive prototypes that simulate the app's functionality without full coding, allowing for early testing and feedback.
This is where the actual coding happens.
Backend Development: This involves the server, database, and APIs that power your app (e.g., user authentication, data storage, business logic).
Frontend Development: This is what users see and interact with (the UI). Developers write code using languages specific to the chosen platform(s) (e.g., Swift/Kotlin for native, Dart/JavaScript for cross-platform).
Integration: Connecting the frontend with the backend through APIs.
Testing (Alpha/Beta): Thoroughly test your app for bugs, performance issues, and user experience flaws. Start with internal testing (alpha) and then expand to a small group of external users (beta).
Before launch, rigorous testing is critical to ensure a stable, bug-free, and delightful user experience.
Functionality Testing: Does every feature work as intended?
Performance Testing: Is the app fast and responsive? Does it handle multiple users?
Security Testing: Is user data protected? Are there any vulnerabilities?
Compatibility Testing: Does it work across different devices, operating systems, and network conditions?
Usability Testing: Observe real users interacting with your app to identify pain points.
Your app is ready for the world!
App Store Submission: Prepare your app listing (description, screenshots, video) and submit it to the Apple App Store (for iOS) and Google Play Store (for Android). Ensure you meet all guidelines.
Marketing & Promotion: Don't just launch and wait. Promote your app through social media, email marketing, press releases, and app store optimisation (ASO).
Monitoring & Updates: After launch, monitor user feedback, crash reports, and analytics. Plan regular updates to fix bugs, add new features, and improve the user experience. This ongoing maintenance is crucial for your app's longevity and success.
The journey of mobile app development from your first app idea is an exciting one. While it involves various steps, approaching it systematically, focusing on user needs, and ensuring thorough testing will significantly increase your chances of building a successful mobile application. Ready to take the plunge? Let's Talk!